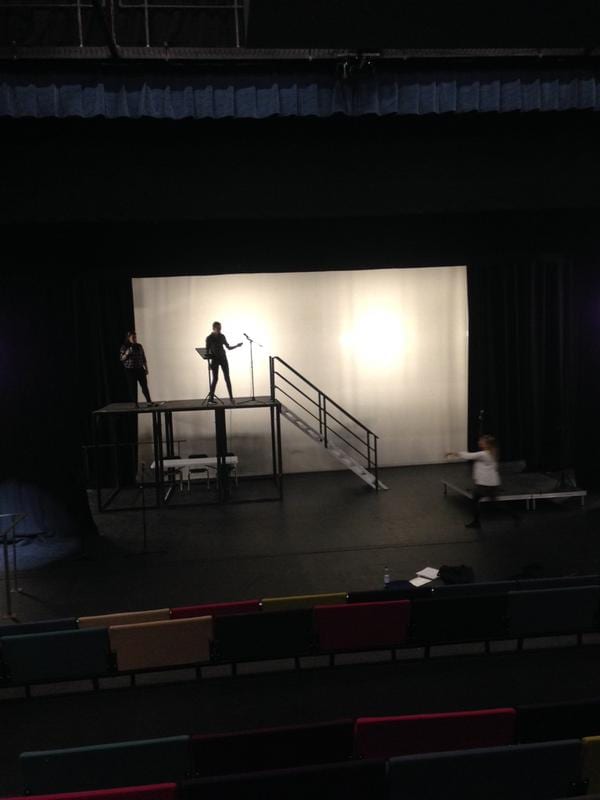
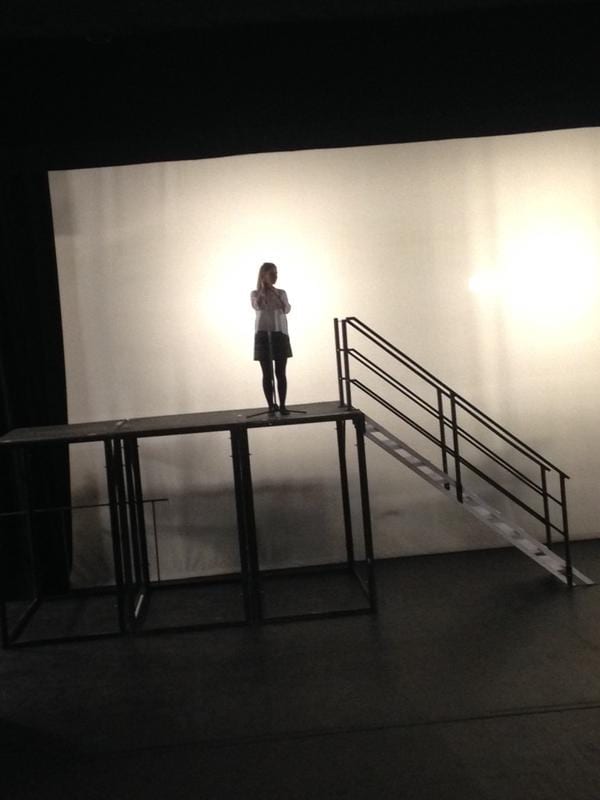
The tech day went perfectly, it was very nice to see everyone was calm, there was no stress, and there was a enjoyable atmosphere surrounding all. There were a few minor changes, but they only added to our show aesthetically, For example, we decided that in the name of health and safety it would be better to swap the ladders, originally decided upon, for a set of steps, as they were more sturdy and therefore would minimise the risk of an accident. We also decided to leave the projection screen down for the tech day, as it was not necessary, as there were still a few videos to edit before the performance day anyway. We also decided that due to the dark nature of the lighting, it would be better to place a rail at the back of the scaffolding, in a half U shape, to make sure that no-one fell down the back whilst performing. This in turn also provided another sense of level to the set, which would work symmetrically with the flying projection screen.
As we had not seen all of the set, I decided that it would be nice to create a visual image that we could look at, to determine where things should go. Using a software online called TinkerCad I was able to create a 3D image of our set design so that I could decide if it looked right. This also meant that I could view the set design from each individual seat in the auditorium, as I had placed each seat in my design, with each seat even having the same colour as the seats in the auditorium.
(Please click on the images below to view them in a larger size.)
This image shows the set design from a side view, giving the impression of the height of the set, using height not only made it clearer for the audience to see, but also created a set of levels that could be explored more creatively during our performance, as mentioned in my previous blog: (Creating a set design).
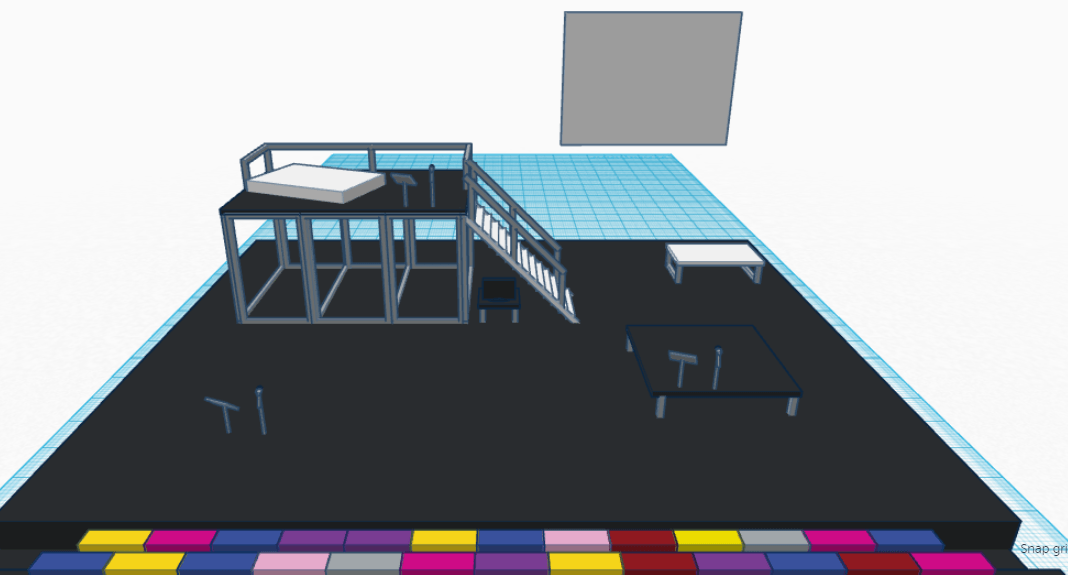
This image shows a birds eye view of the set, offering the opportunity to see the spacing of all of the set on the stage, the use of space meant that the auditorium stage felt smaller, therefore it did not swallow up our cast, as we were just three actors on a very large stage, it was important to make sure that we were the focus, not left behind as the stage was too large.

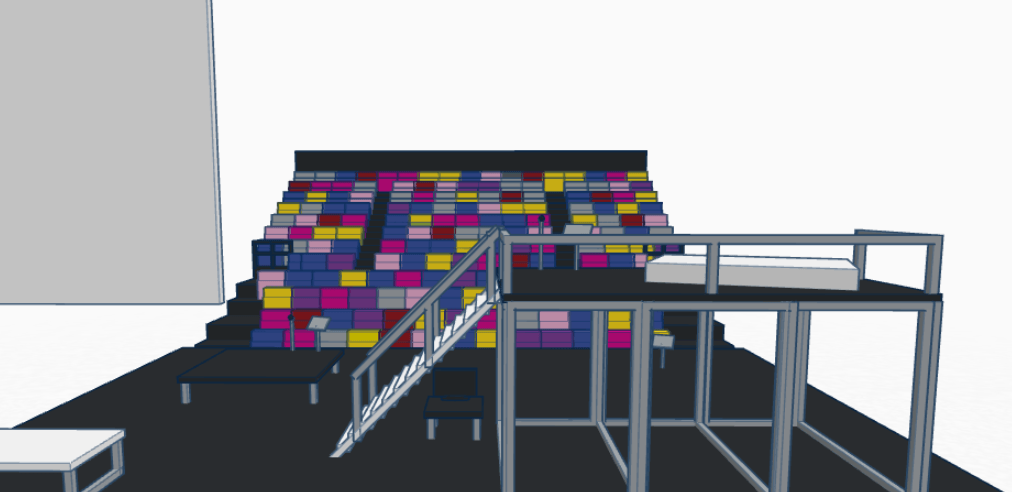
This image offers the view from the back of the set, from the height of the platform, meaning that we were able to see view lines, it meant that if any set got in the way of the sight line, we could move it. For example during our tech,we decided that the props table being under the scaffolding, left a large gap at up stage left, near the projector screen. Hence the reason for it being moved from underneath the scaffolding, and into this position, something which we felt strongly about a a company.
Work Cited:
Autodesk Inc. (2015) TinkerCad. [online] California: Autodesk Inc. Available from: https://www.tinkercad.com [Accessed 8 May 2015].